Building a PDP-11/70 Kit
The PDP-11/70 was a 16-bit minicomputer built by Digital Equipment Corporation in the 1970s. Amongst other things it is well-known for its front panel designs, with color-coded (and color-coordinated) switches and associated blinkenlights. I have an interest in vintage computers, mostly focused on Macs from the late 1980s, that I ended up indulging a little during the pandemic. I’ve fixed up a couple of SE/30s and a Quadra 700) over the past year. Restoring a real PDP-11 is rather beyond my technical capabilities, not to mention my storage capacity and my ability to justify its acquisition financially. However, Oscar Vermeulen makes a fabulous little kit called the PiDP-11. It is a 6:10 scale replica of the PDP-11/70’s front panel. You assemble the board connect it to a Raspberry Pi via the Pi’s GPIO port. It runs some software that emulates the PDP’s operating system. The switches and LEDs and so on all function just as they would on the real machine. Oscar’s attention to detail is very high, both inside the machine and out, so when he started selling a new batch of his kits I bought one. Here are some pictures of the process of assembling it.
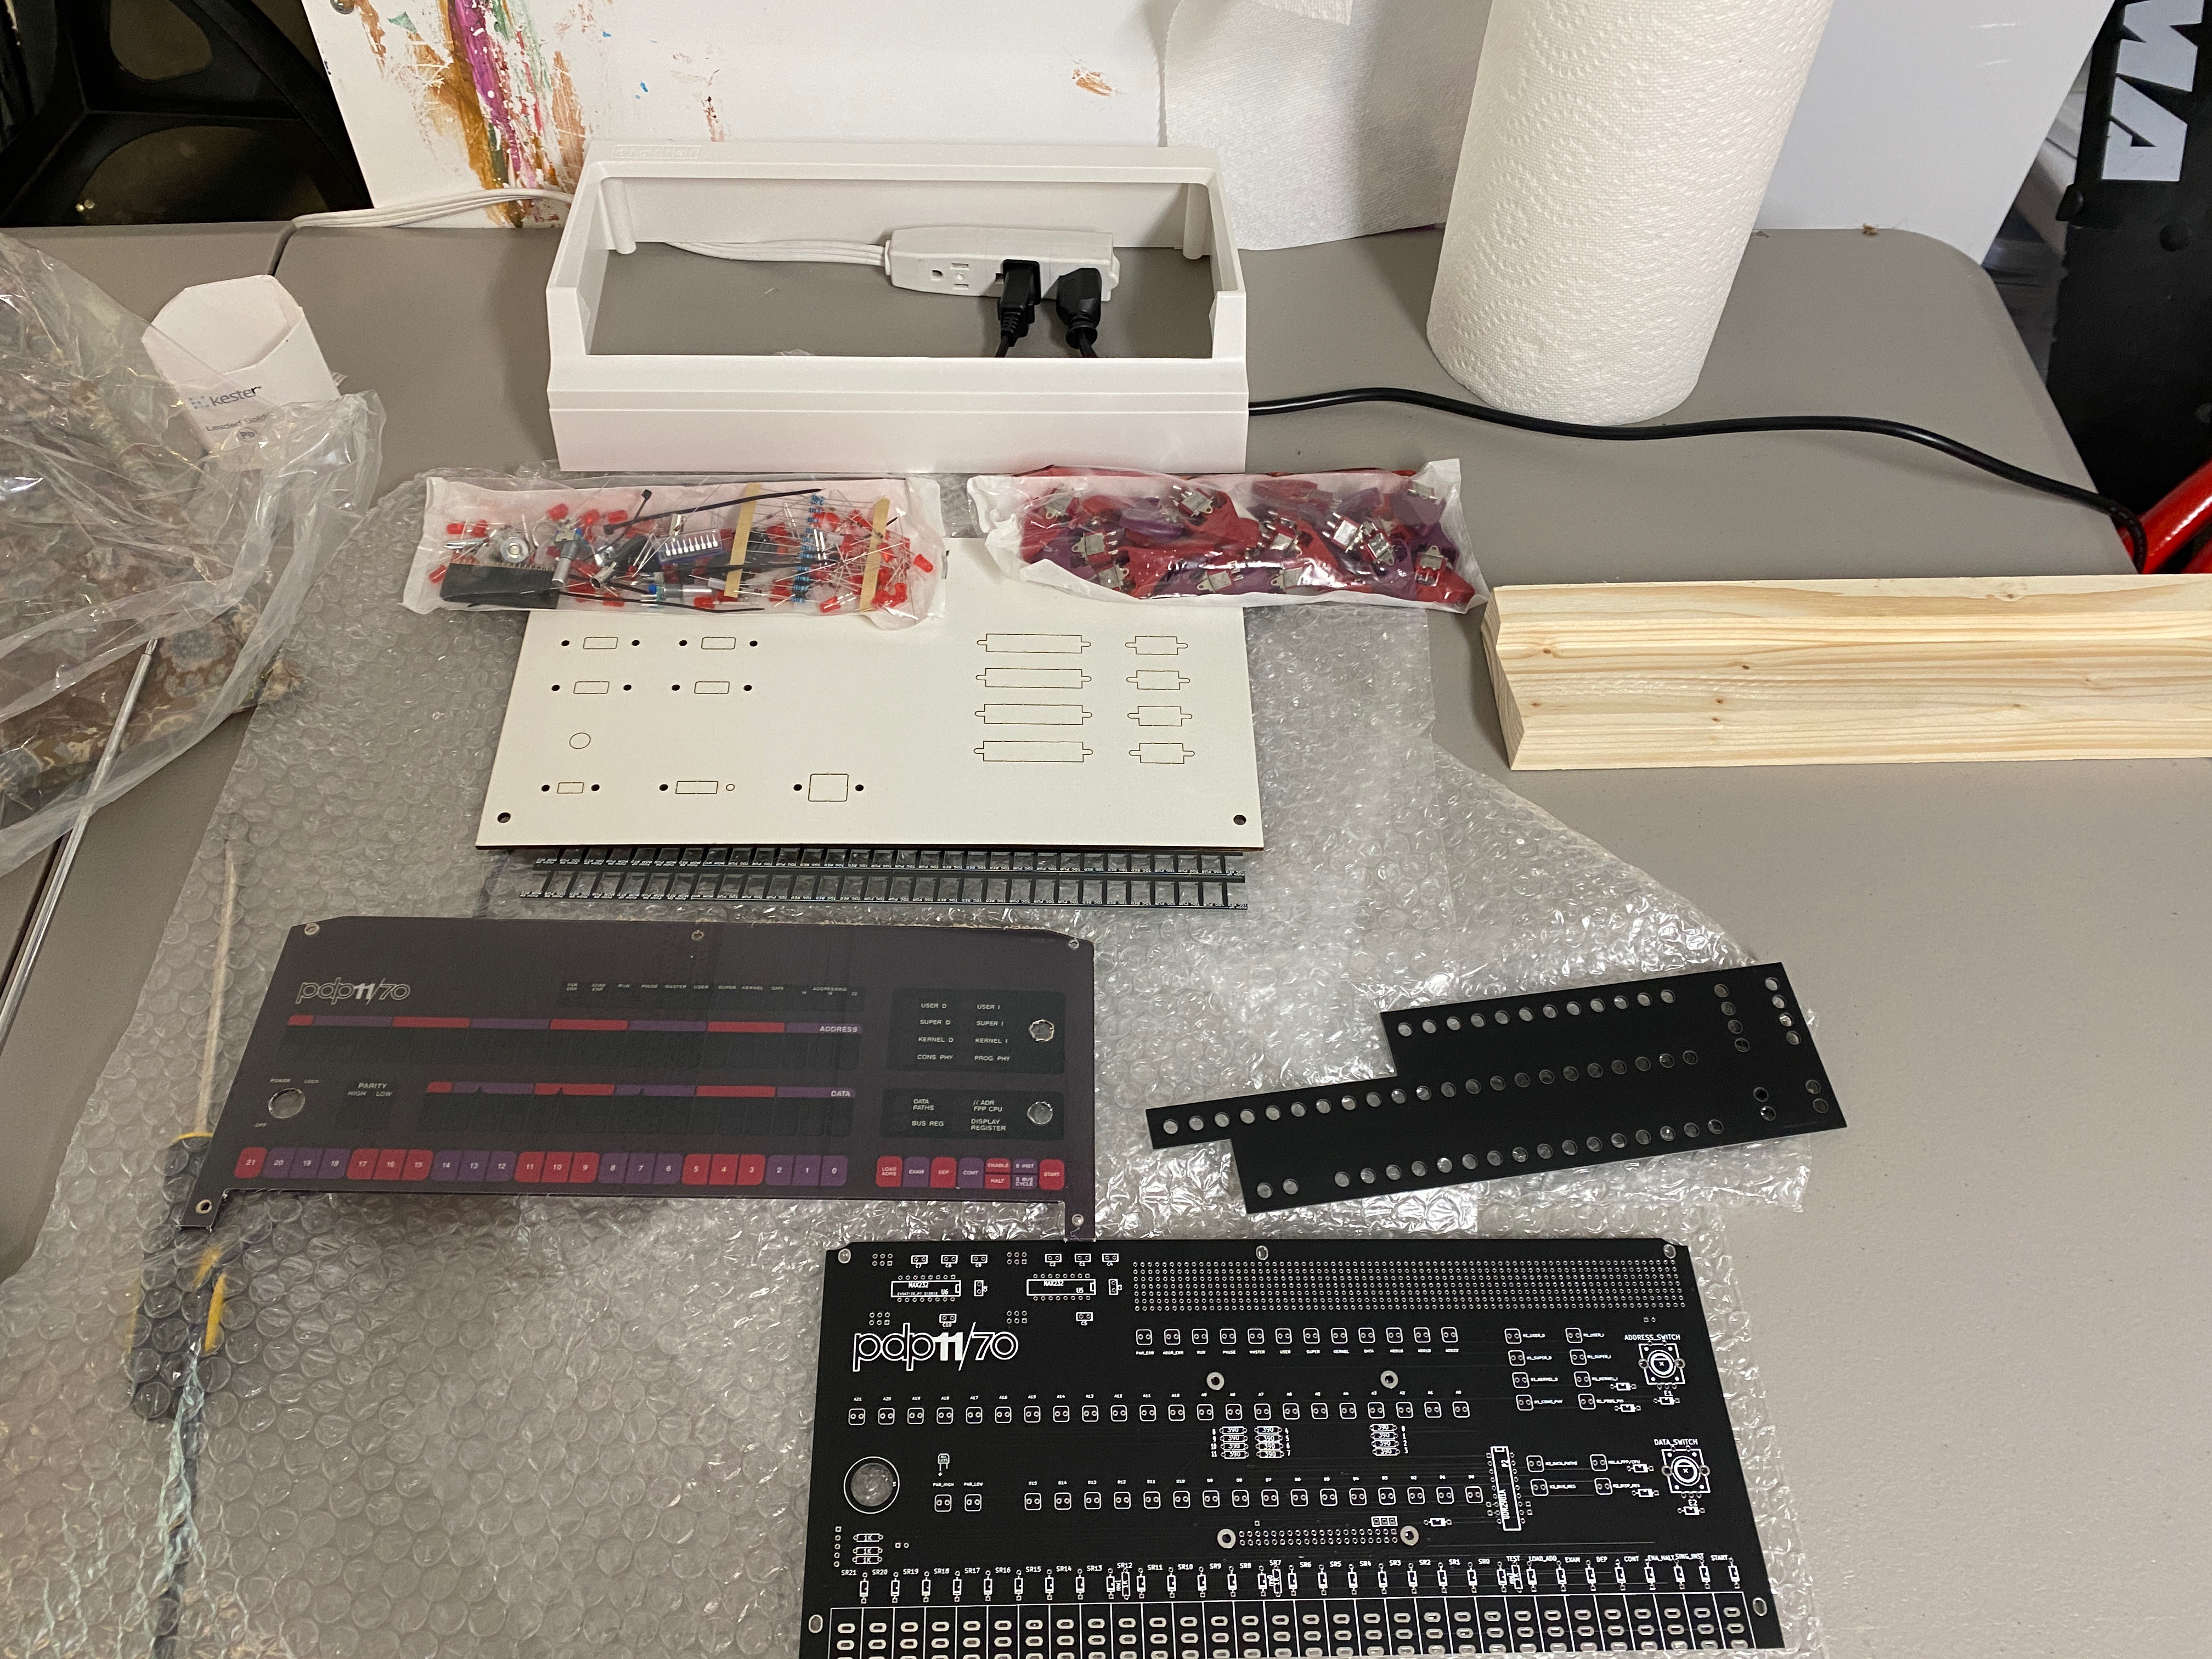
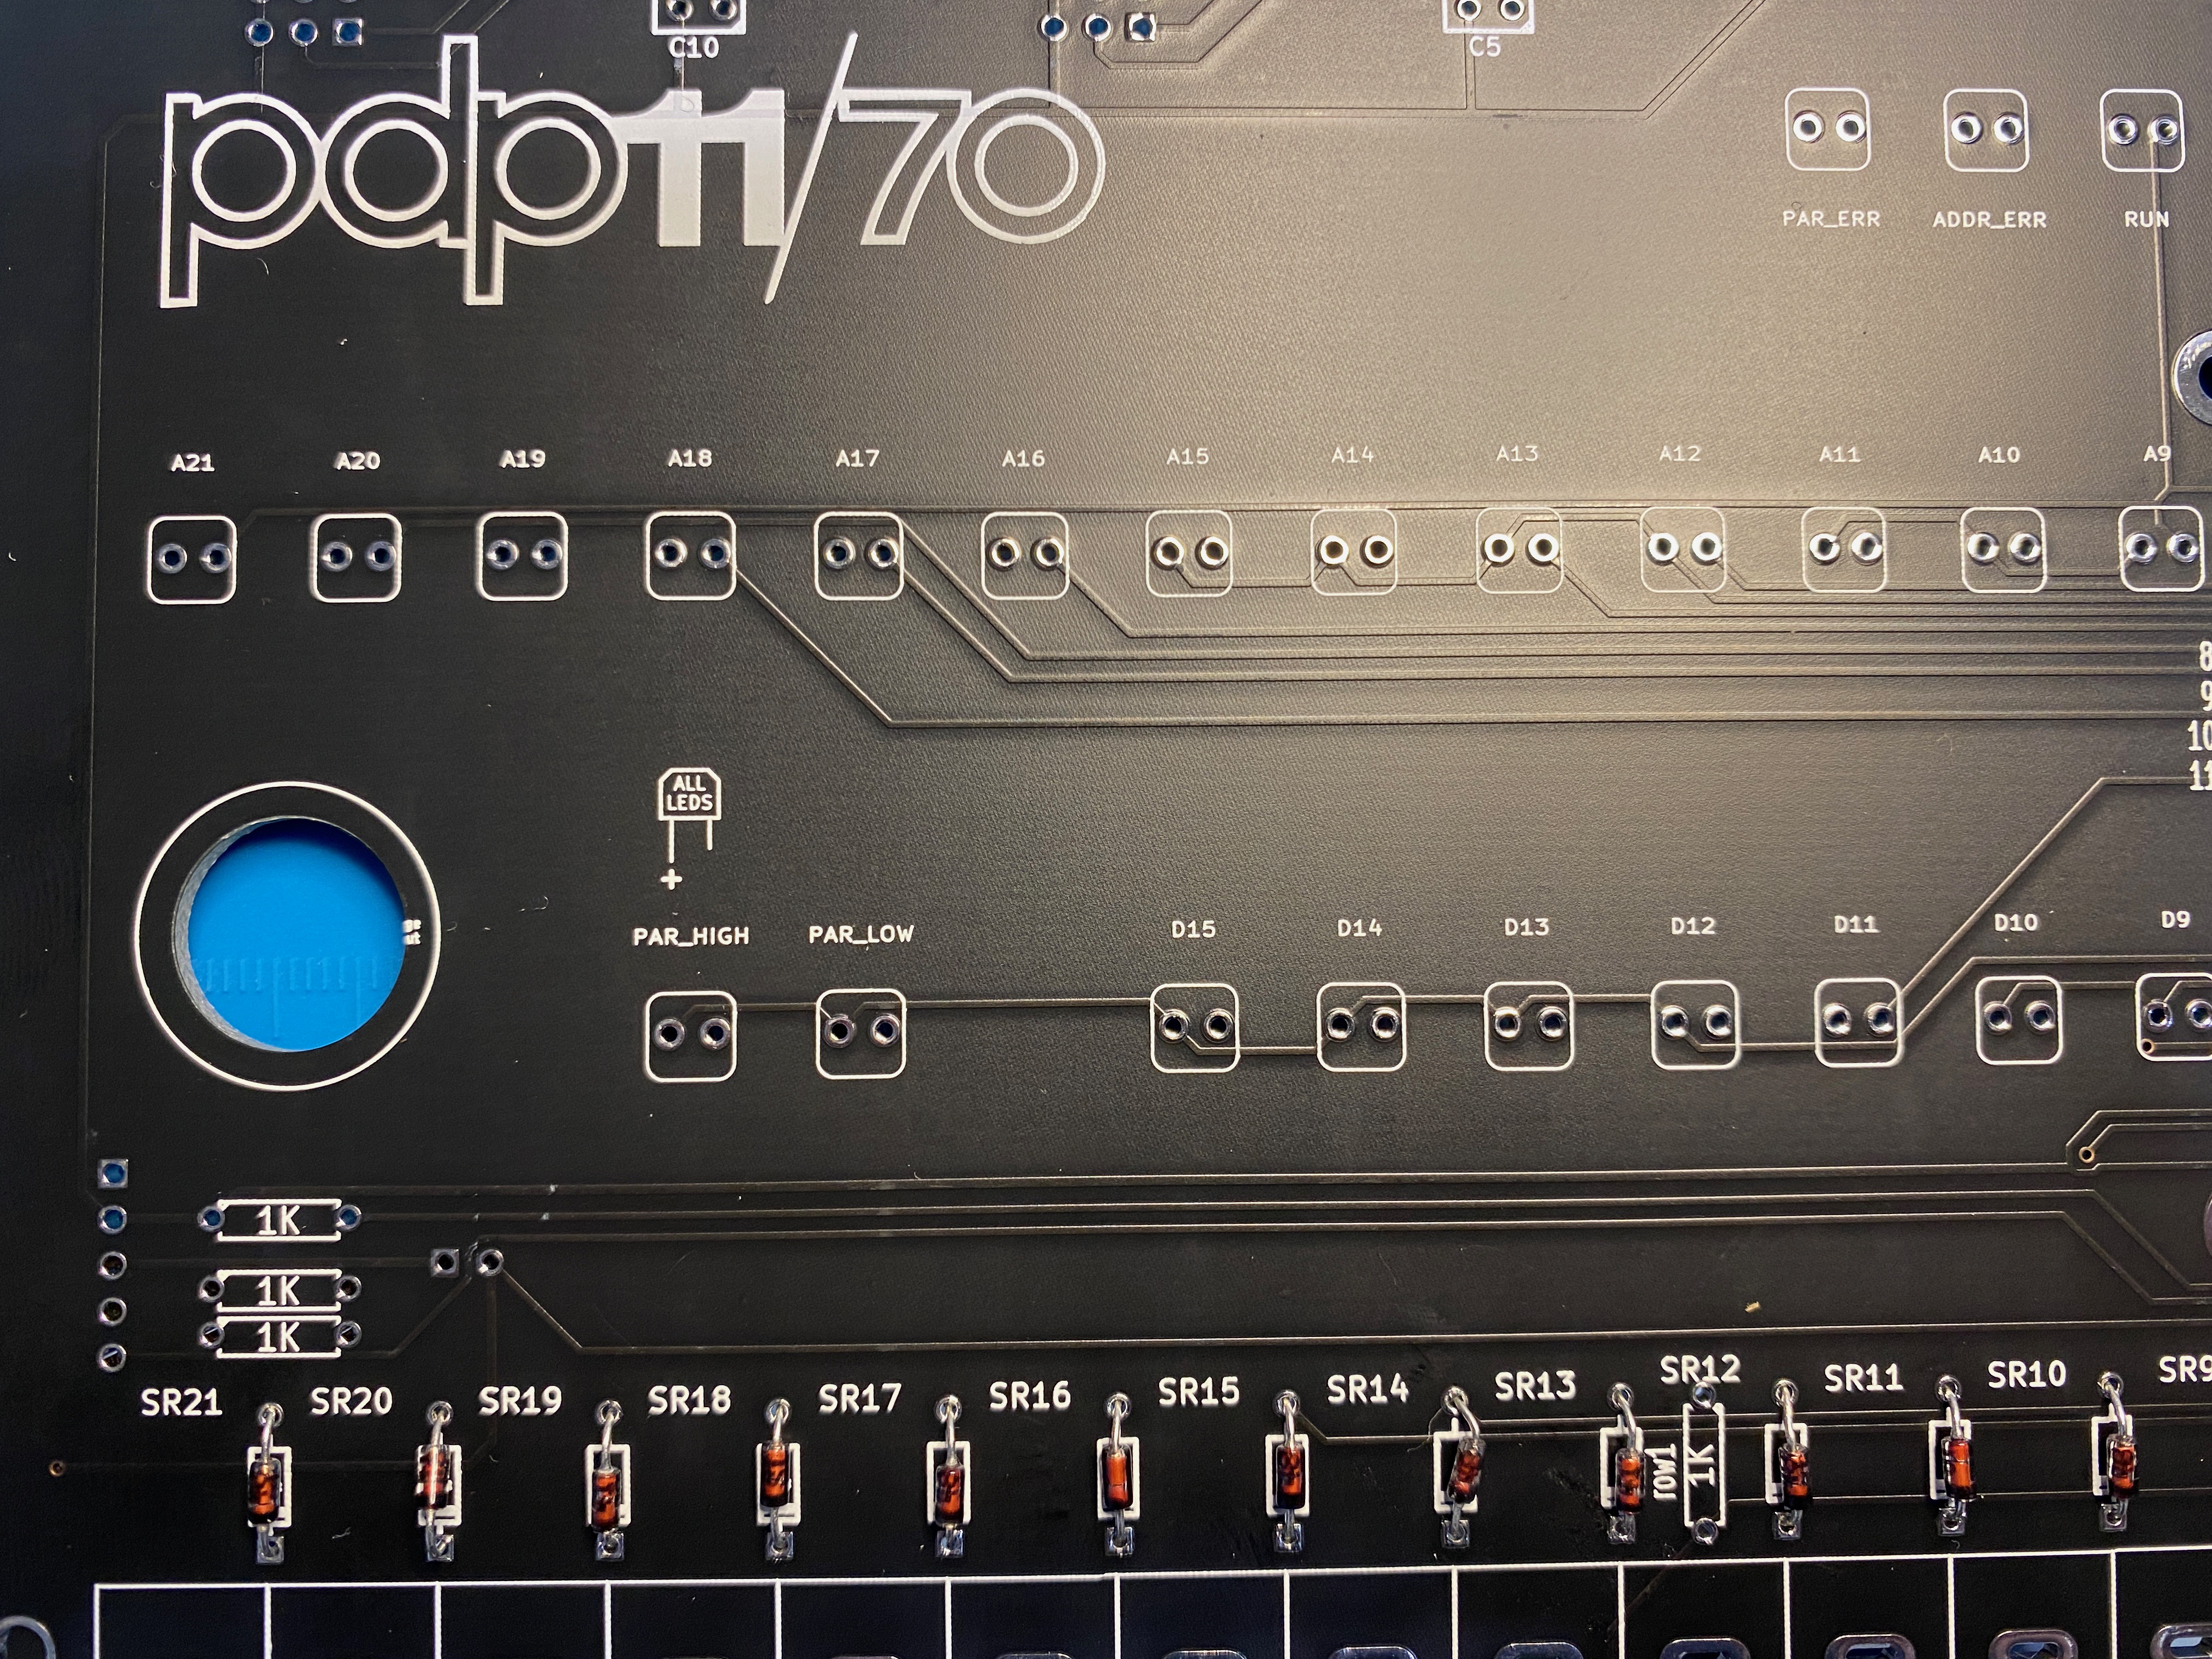
The kit.
We start with the kit. It has a PCB, front panel, case, and many, many switches, diodes, LEDs, resistors, and so on.
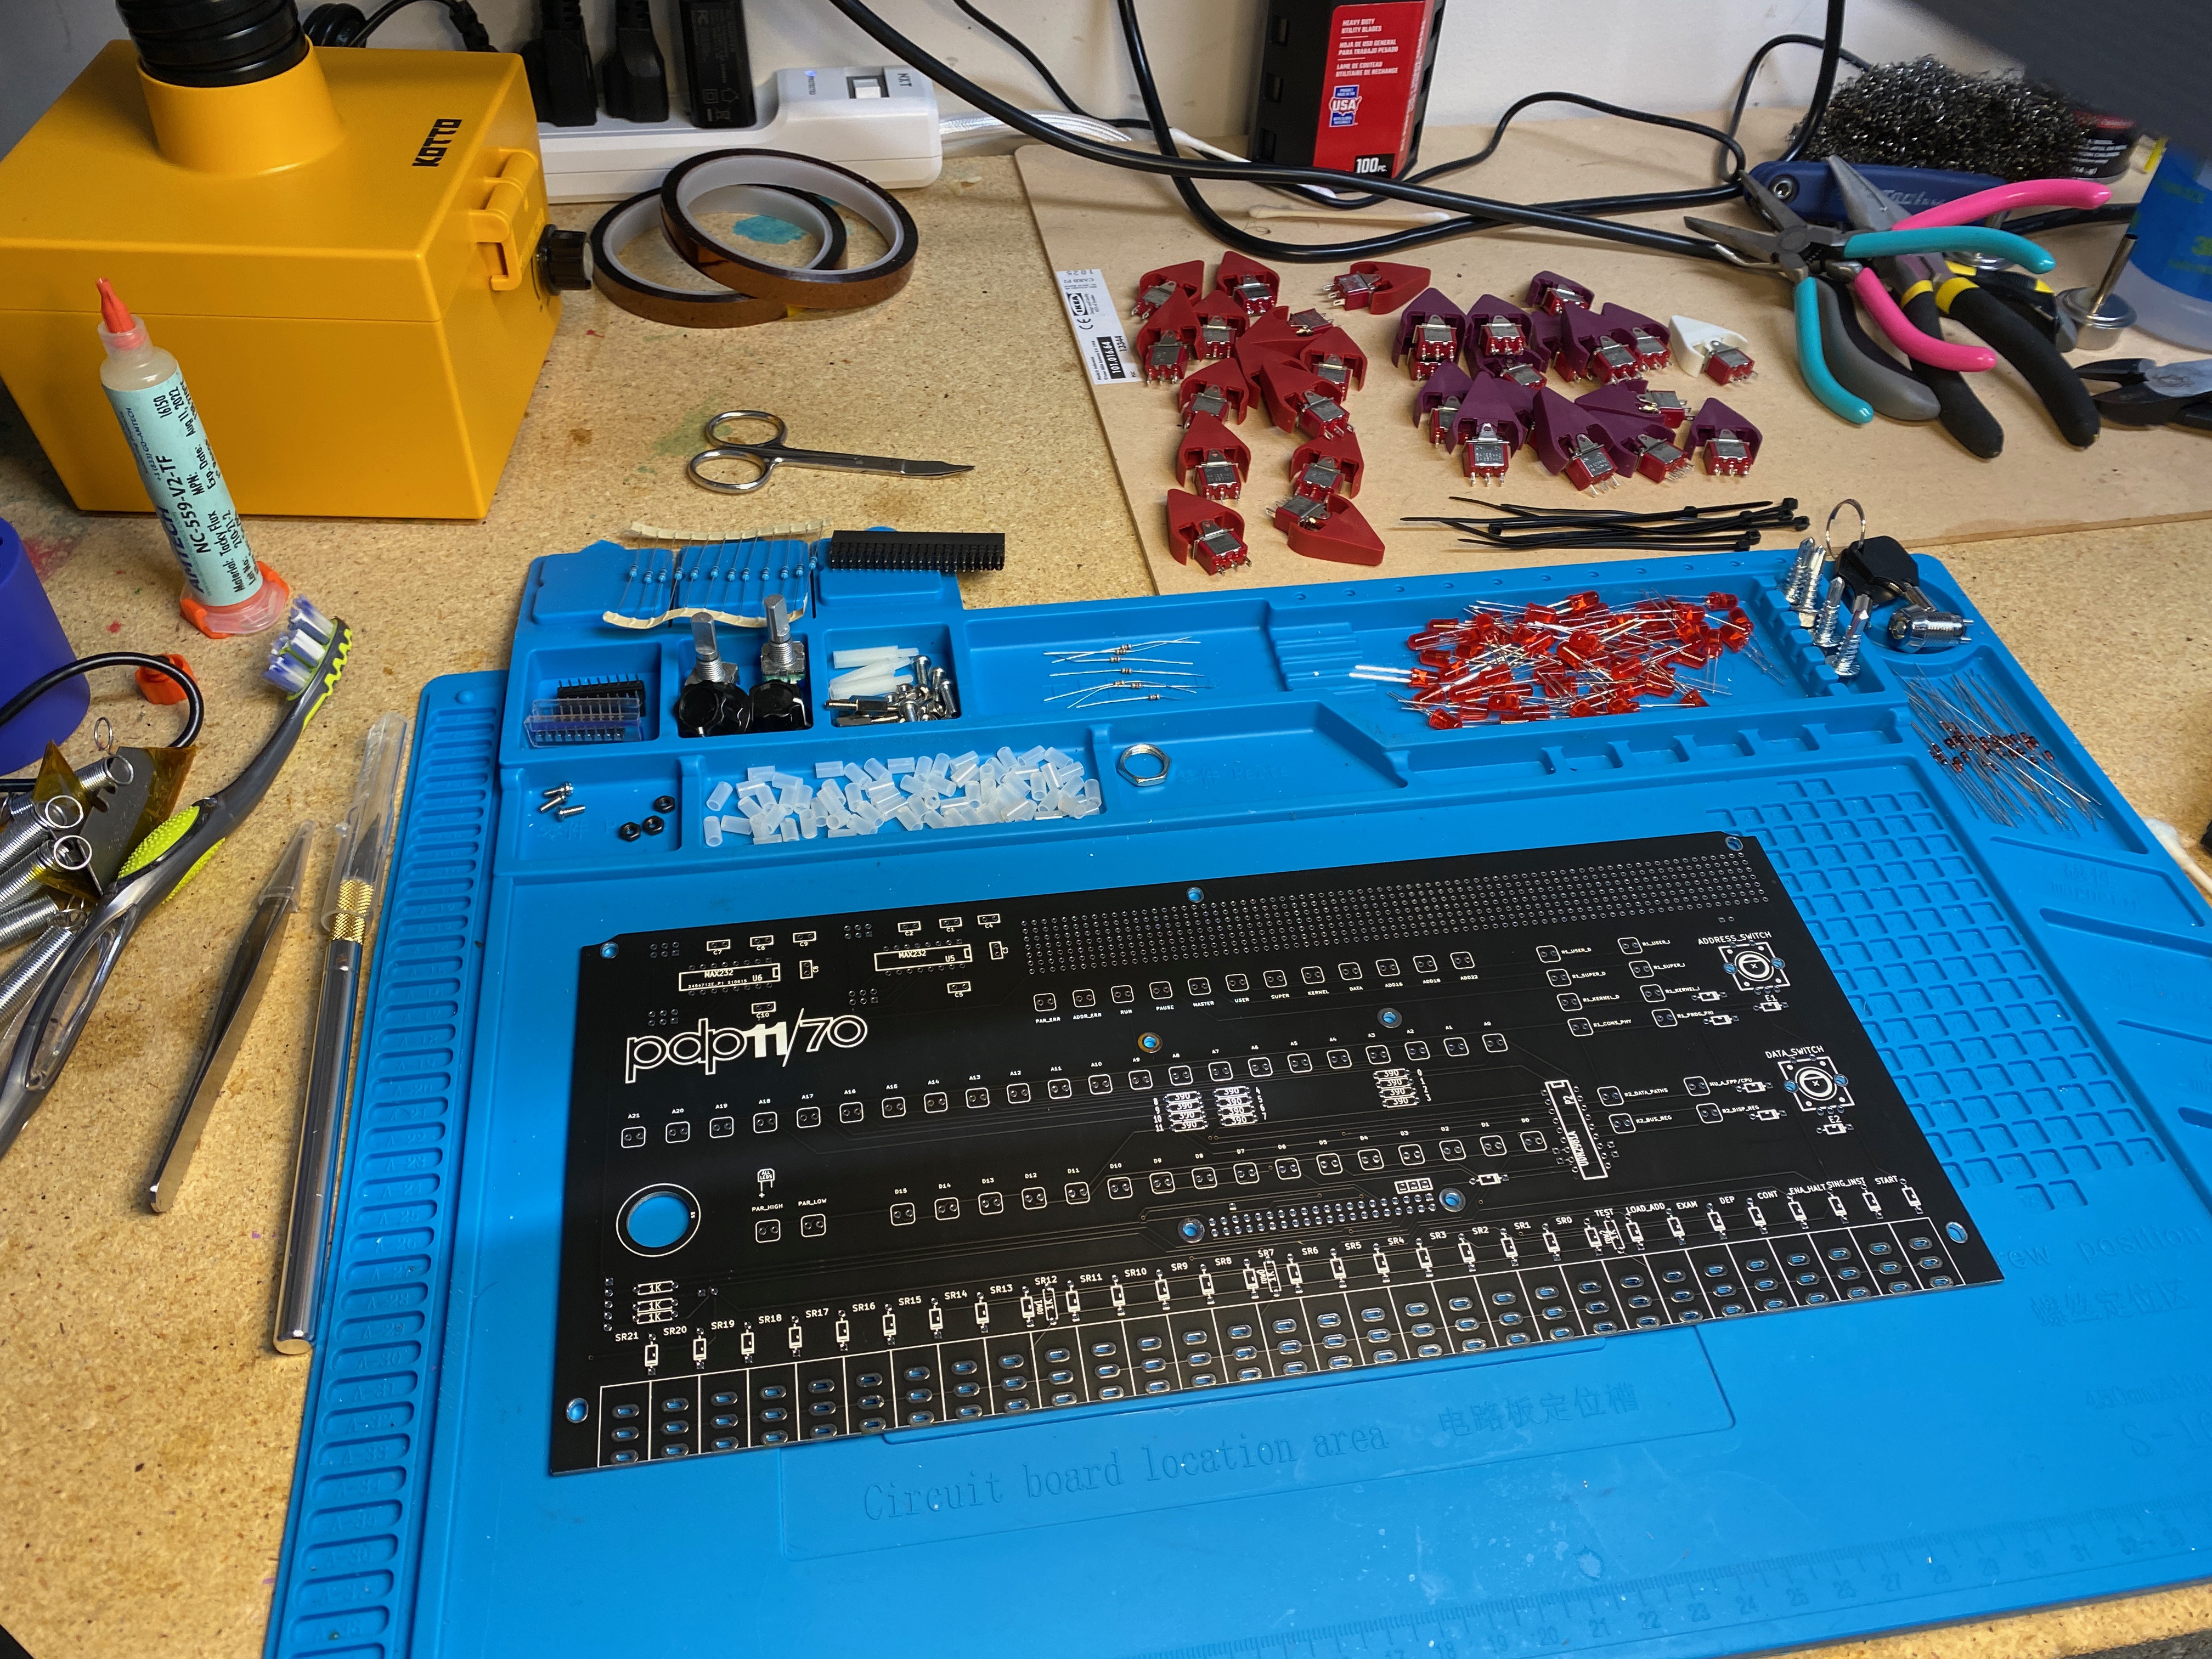
Getting ready to solder.
Since I started working on the old Macs, I learned how to solder things. Old 68k Macs, especially SE/30s have capacitors that always end up leaking, so you have to replace them with better ones. I am not very good at soldering.
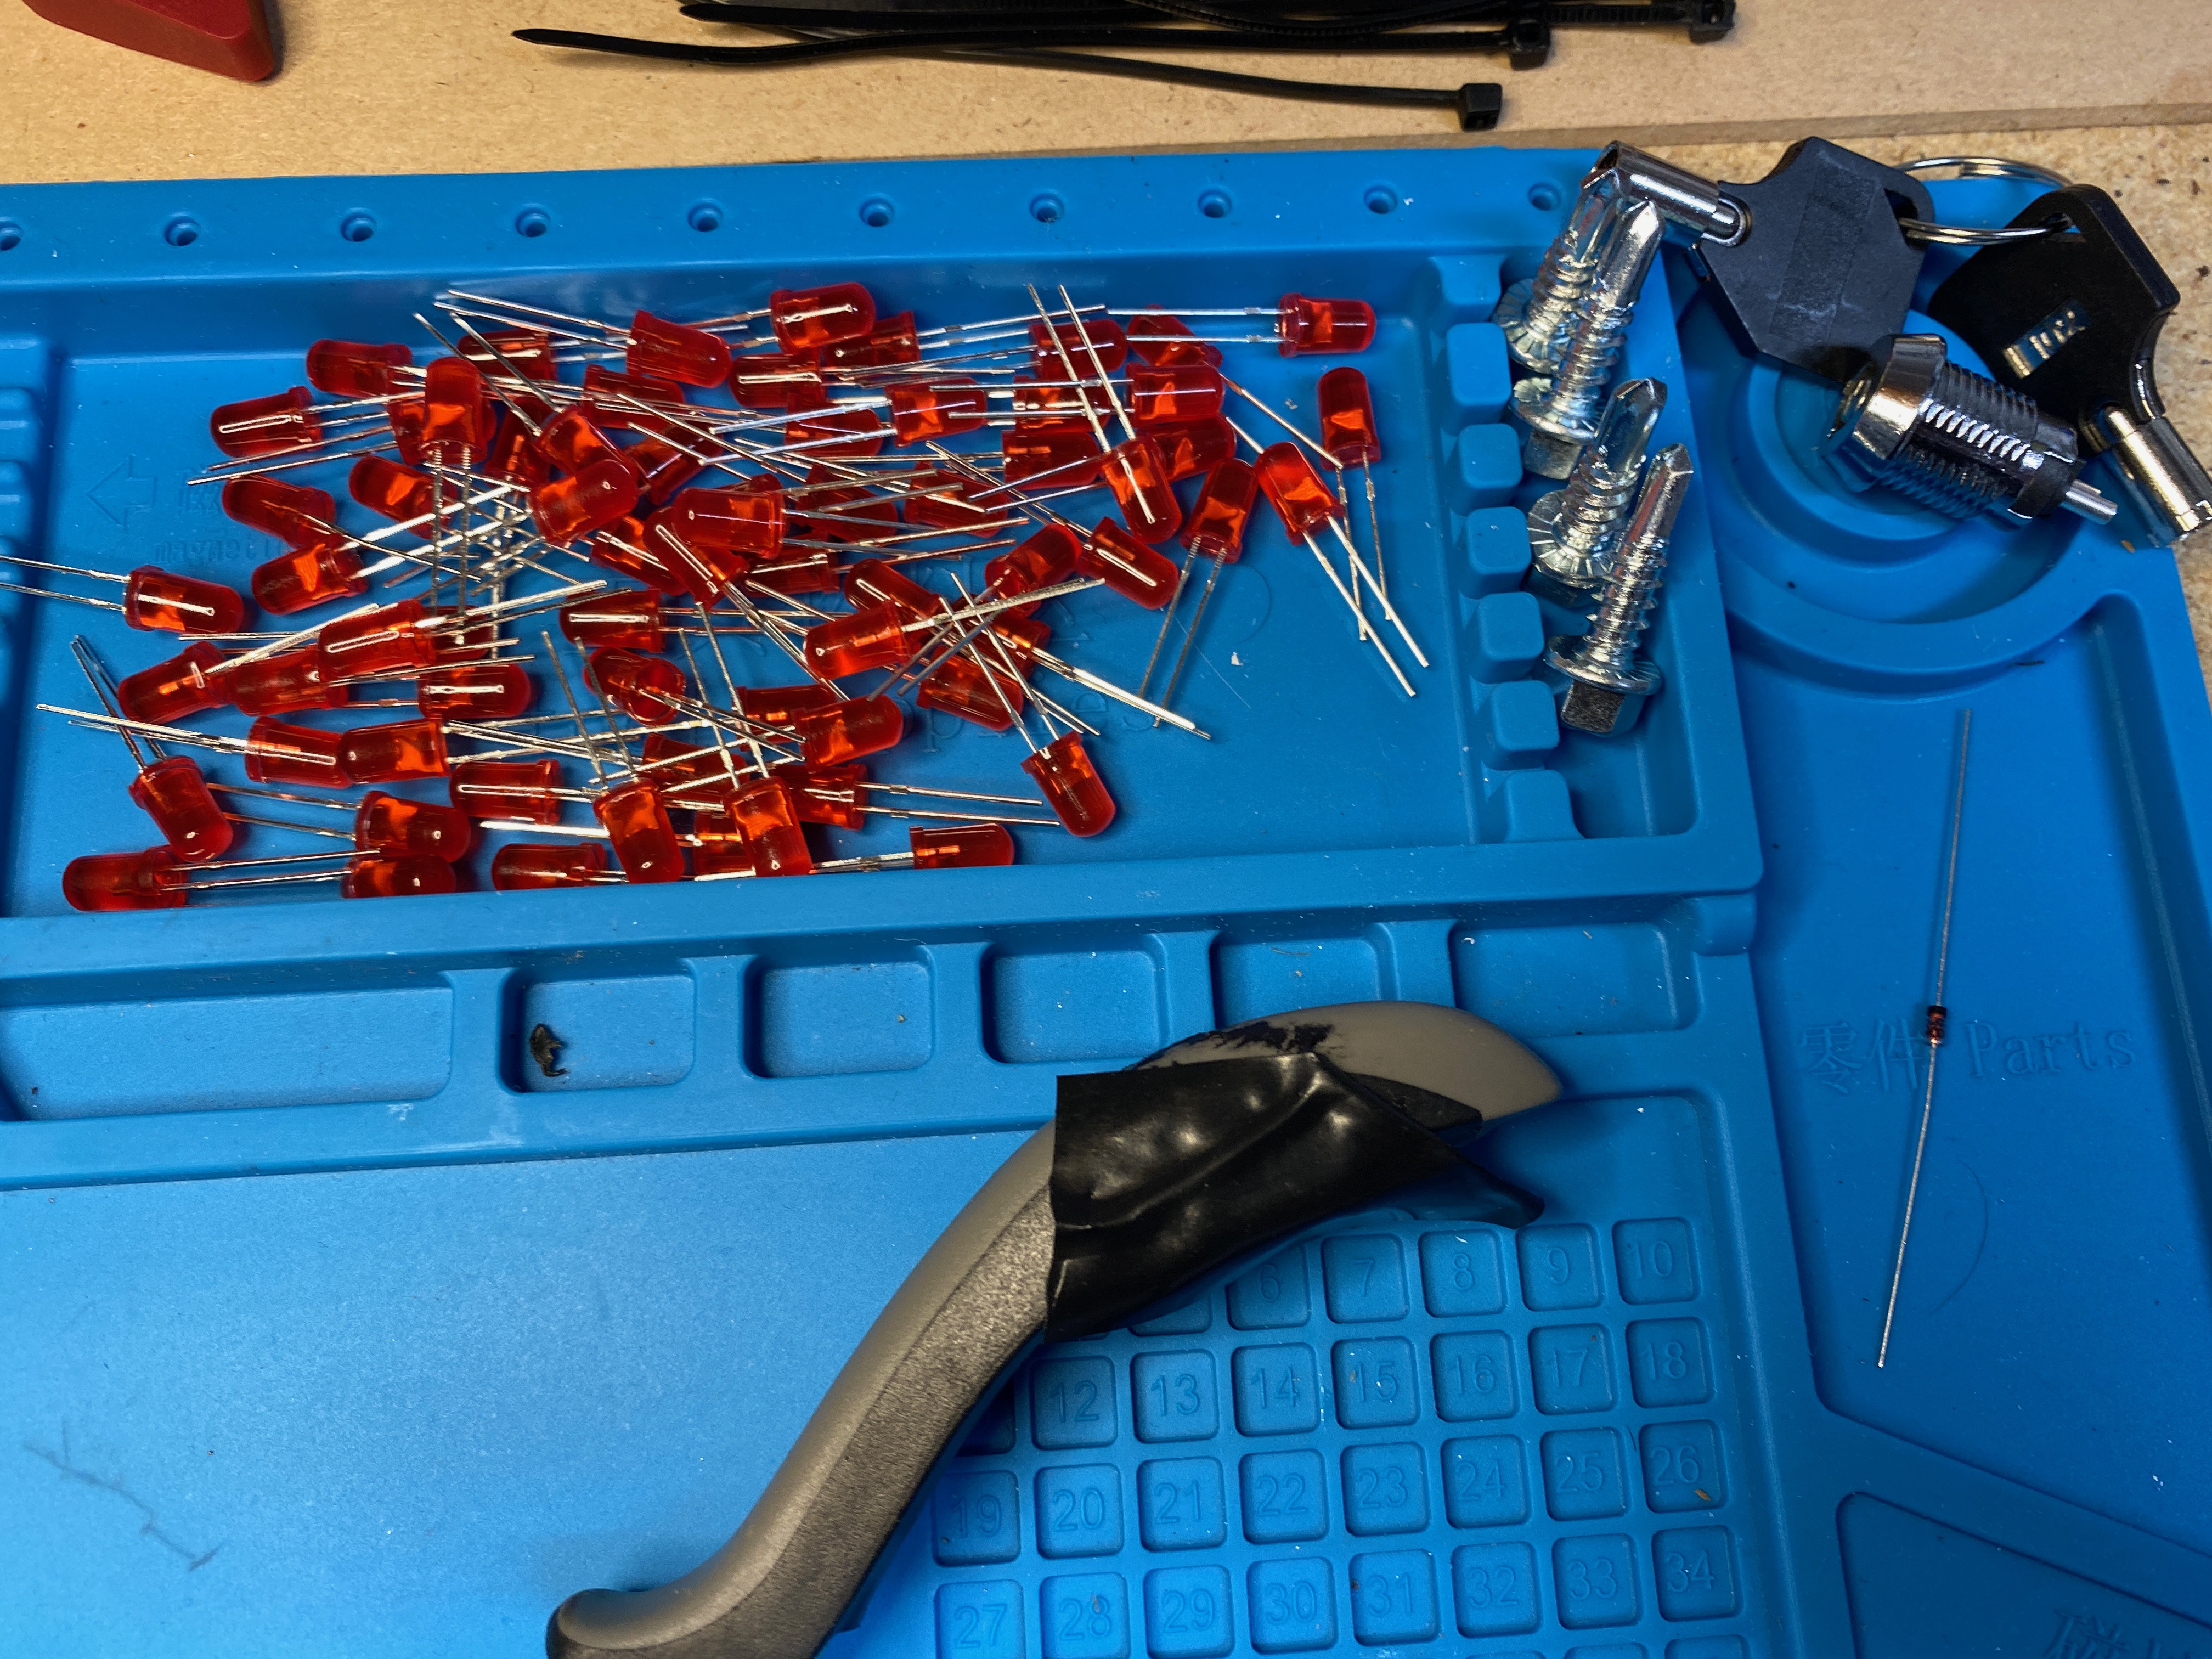
Blinkengredients.
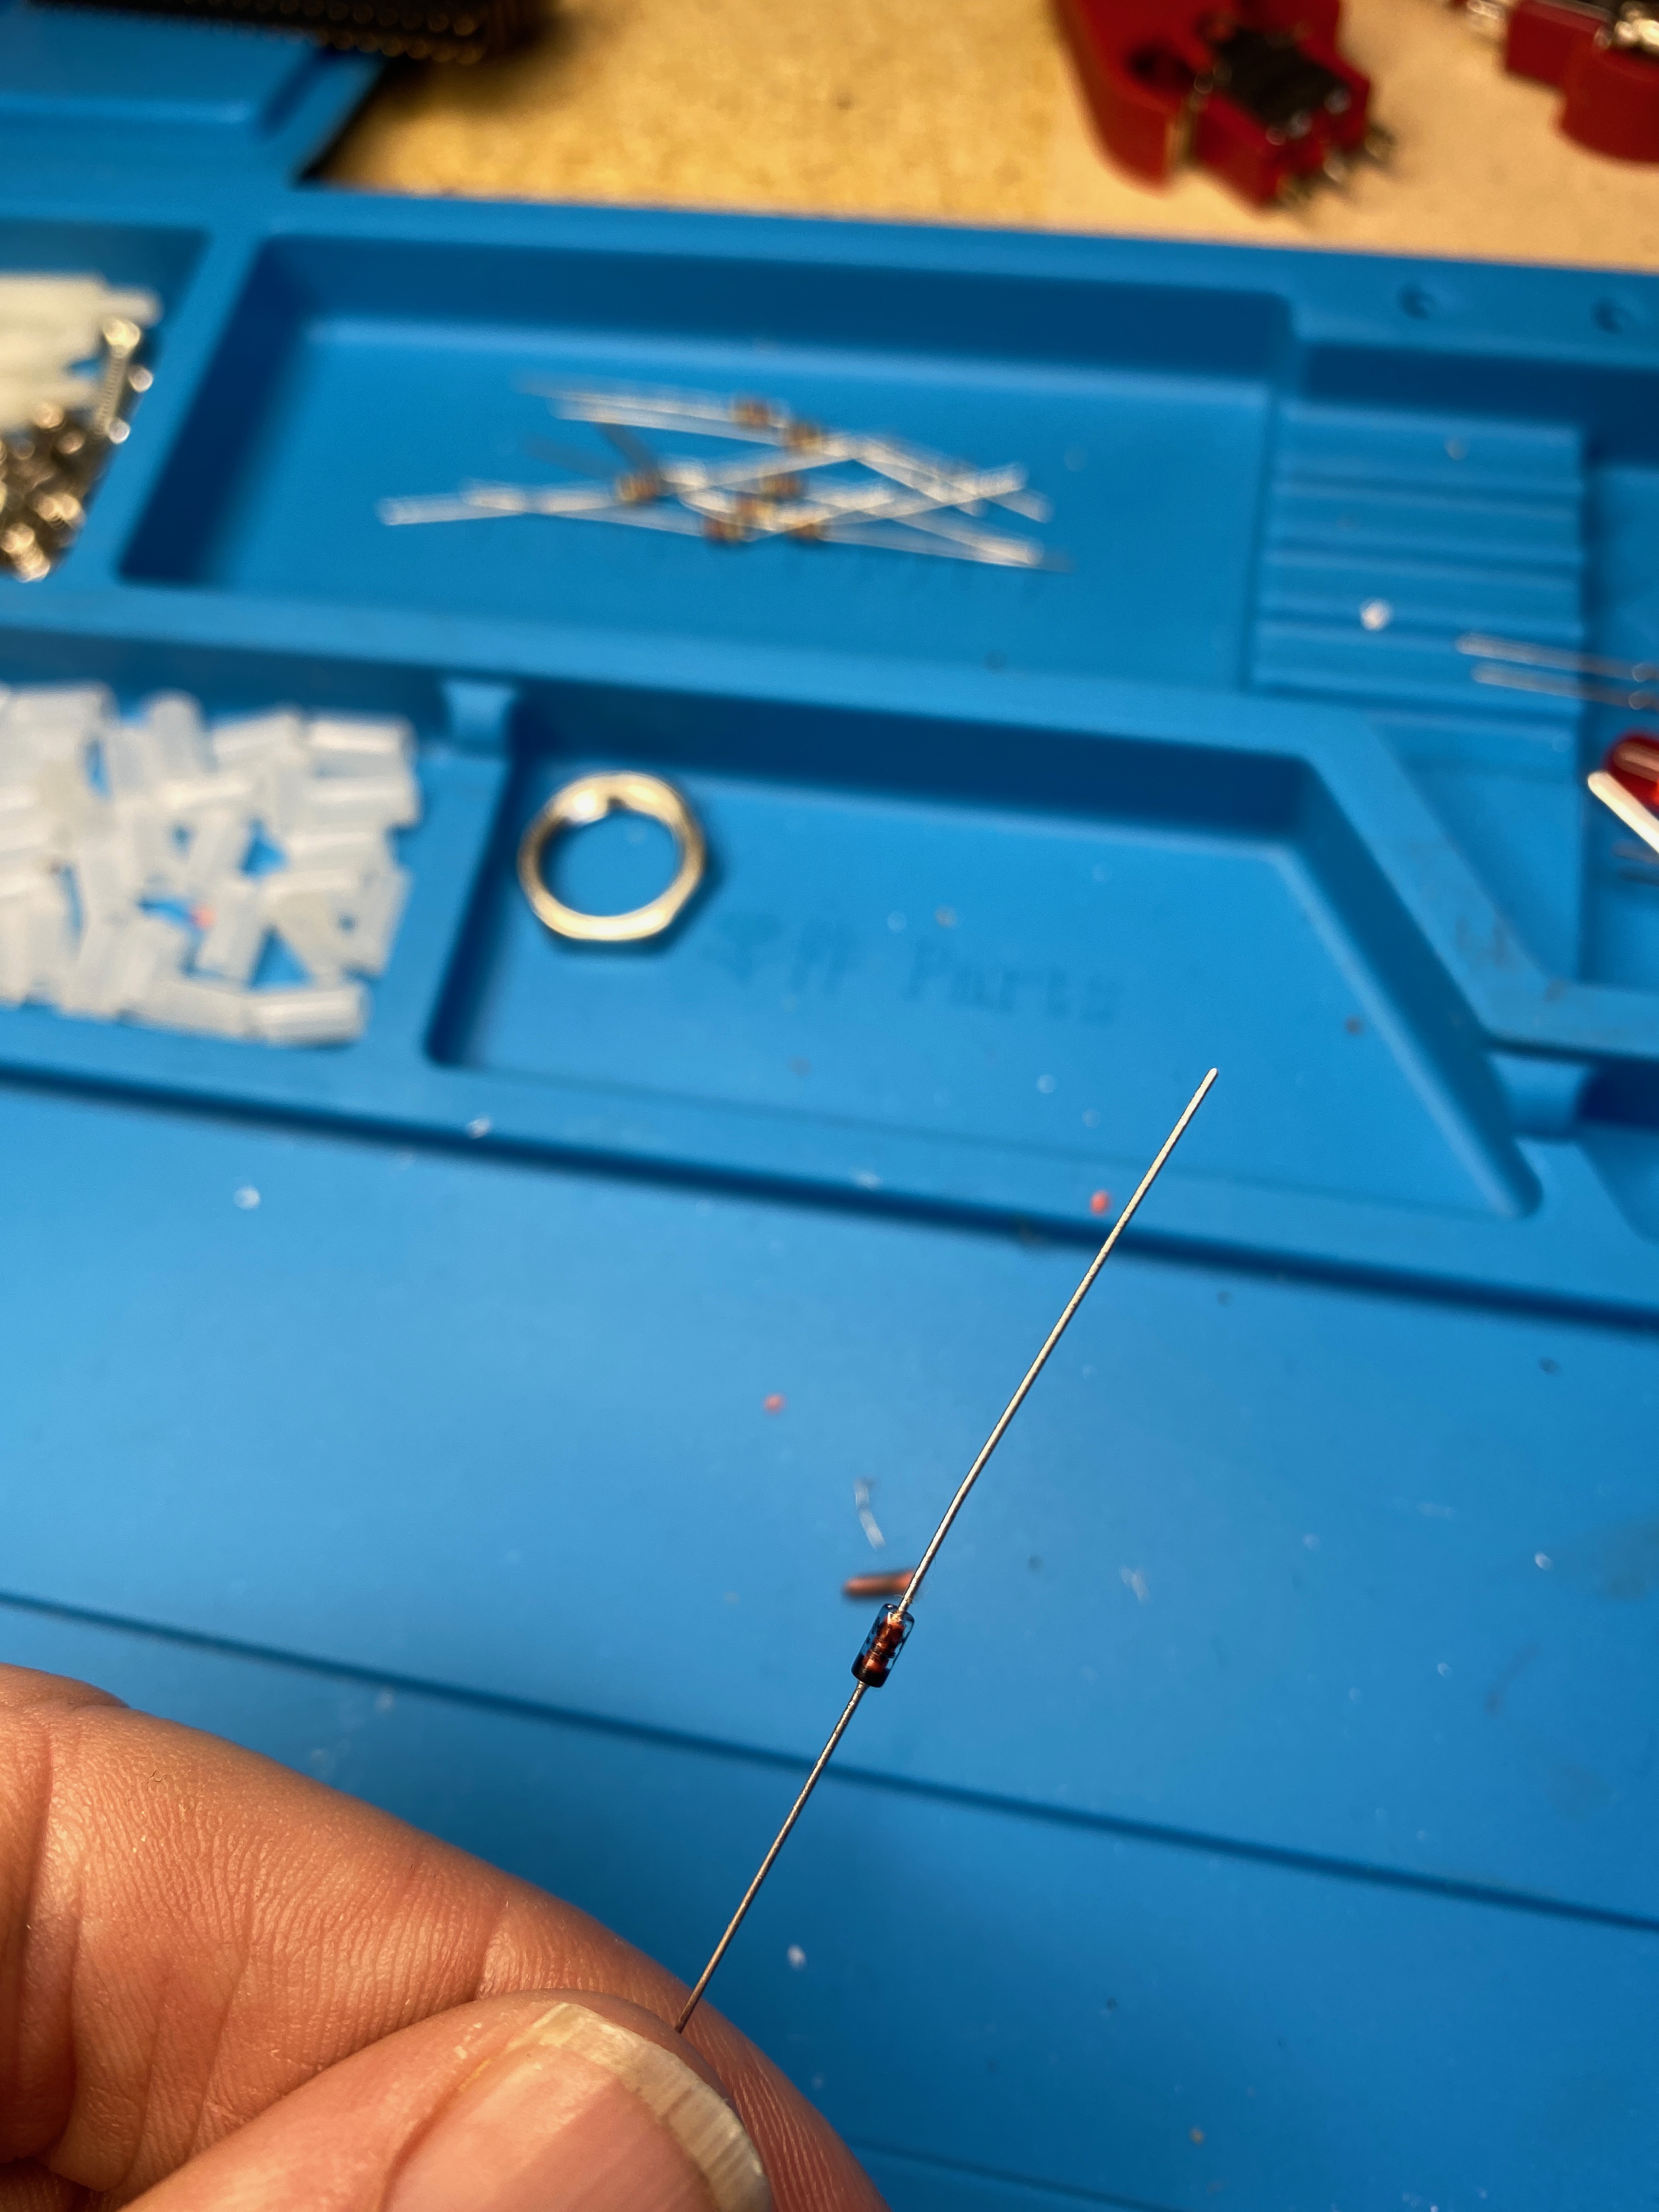
Hold me closer, tiny diode.
So many LEDs, so many diodes. Not enough diodes, as it turned out. The kit was short five. Oscar offered to ship me them, but as it happened I had a bunch of the required 1N4148 diodes on hand from a practice kit, so I was OK.
On go the first batch of diodes.
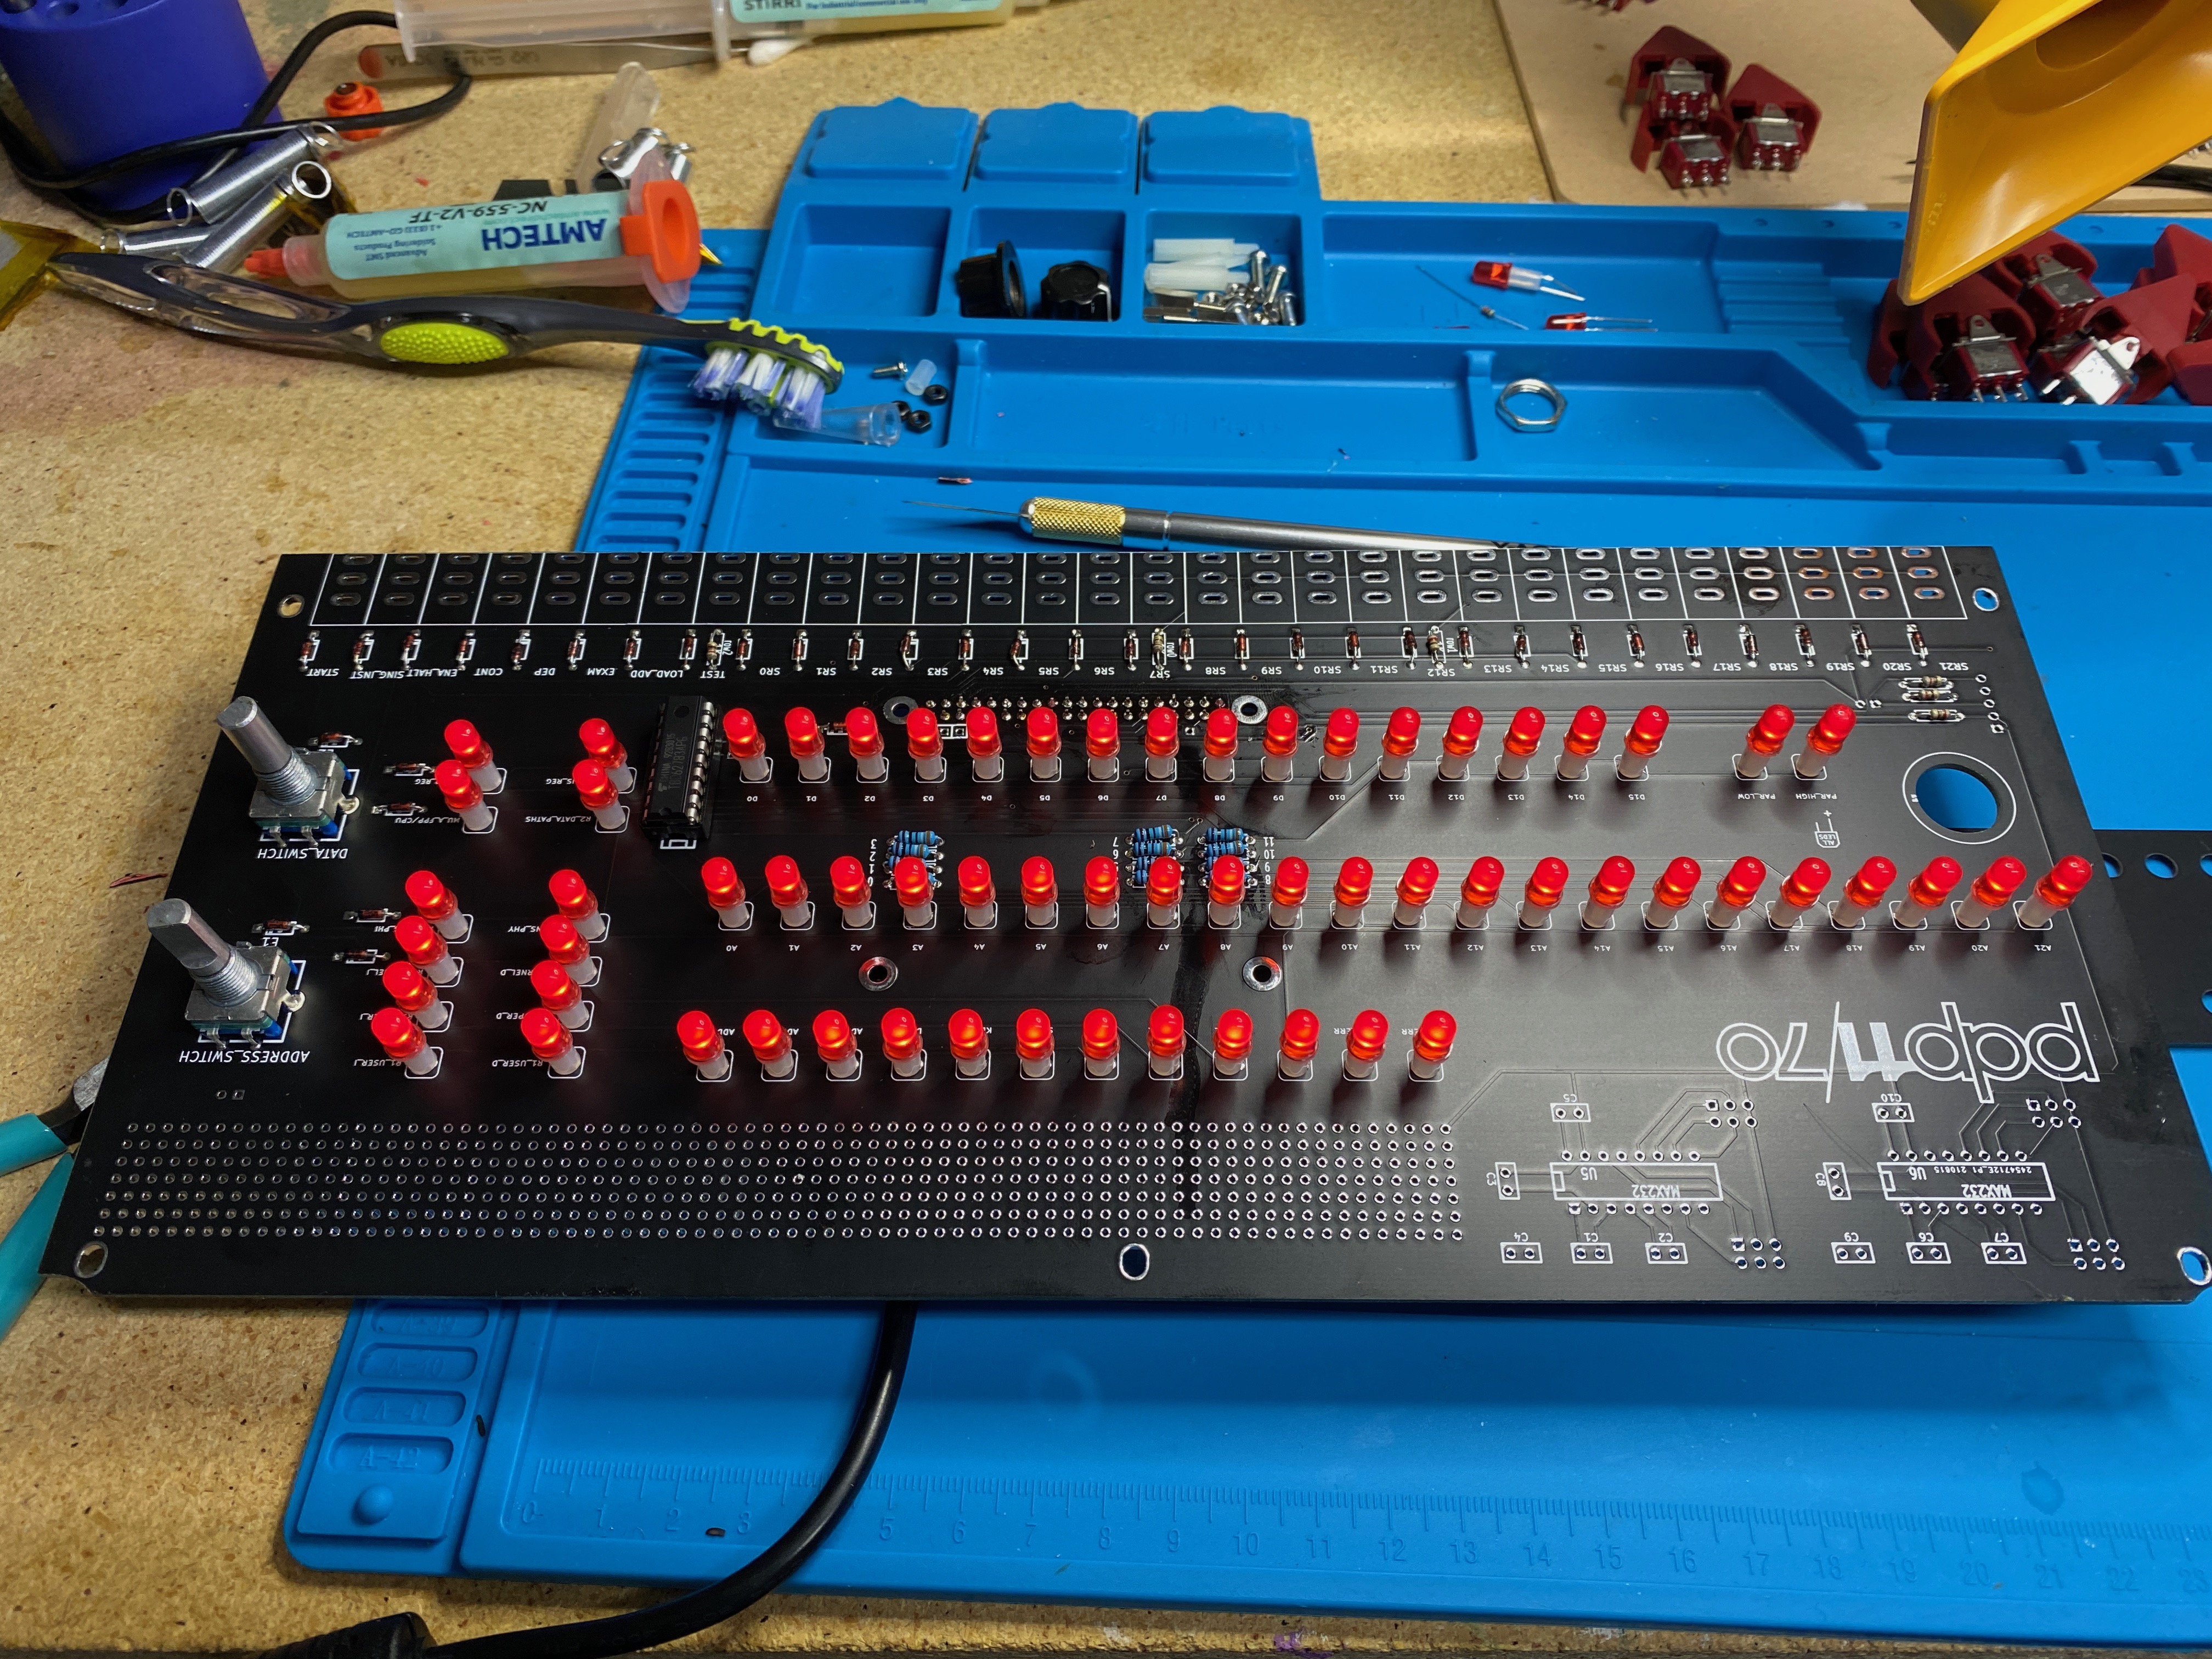
LEDs on.
I will quietly skip the part where I soldered the GPIO connector to the wrong side of the board and had to desolder it and attach it to the correct side. You will be unsurprised to learn that, having done this, I was not in the right state of mind to cheerfully take pictures.
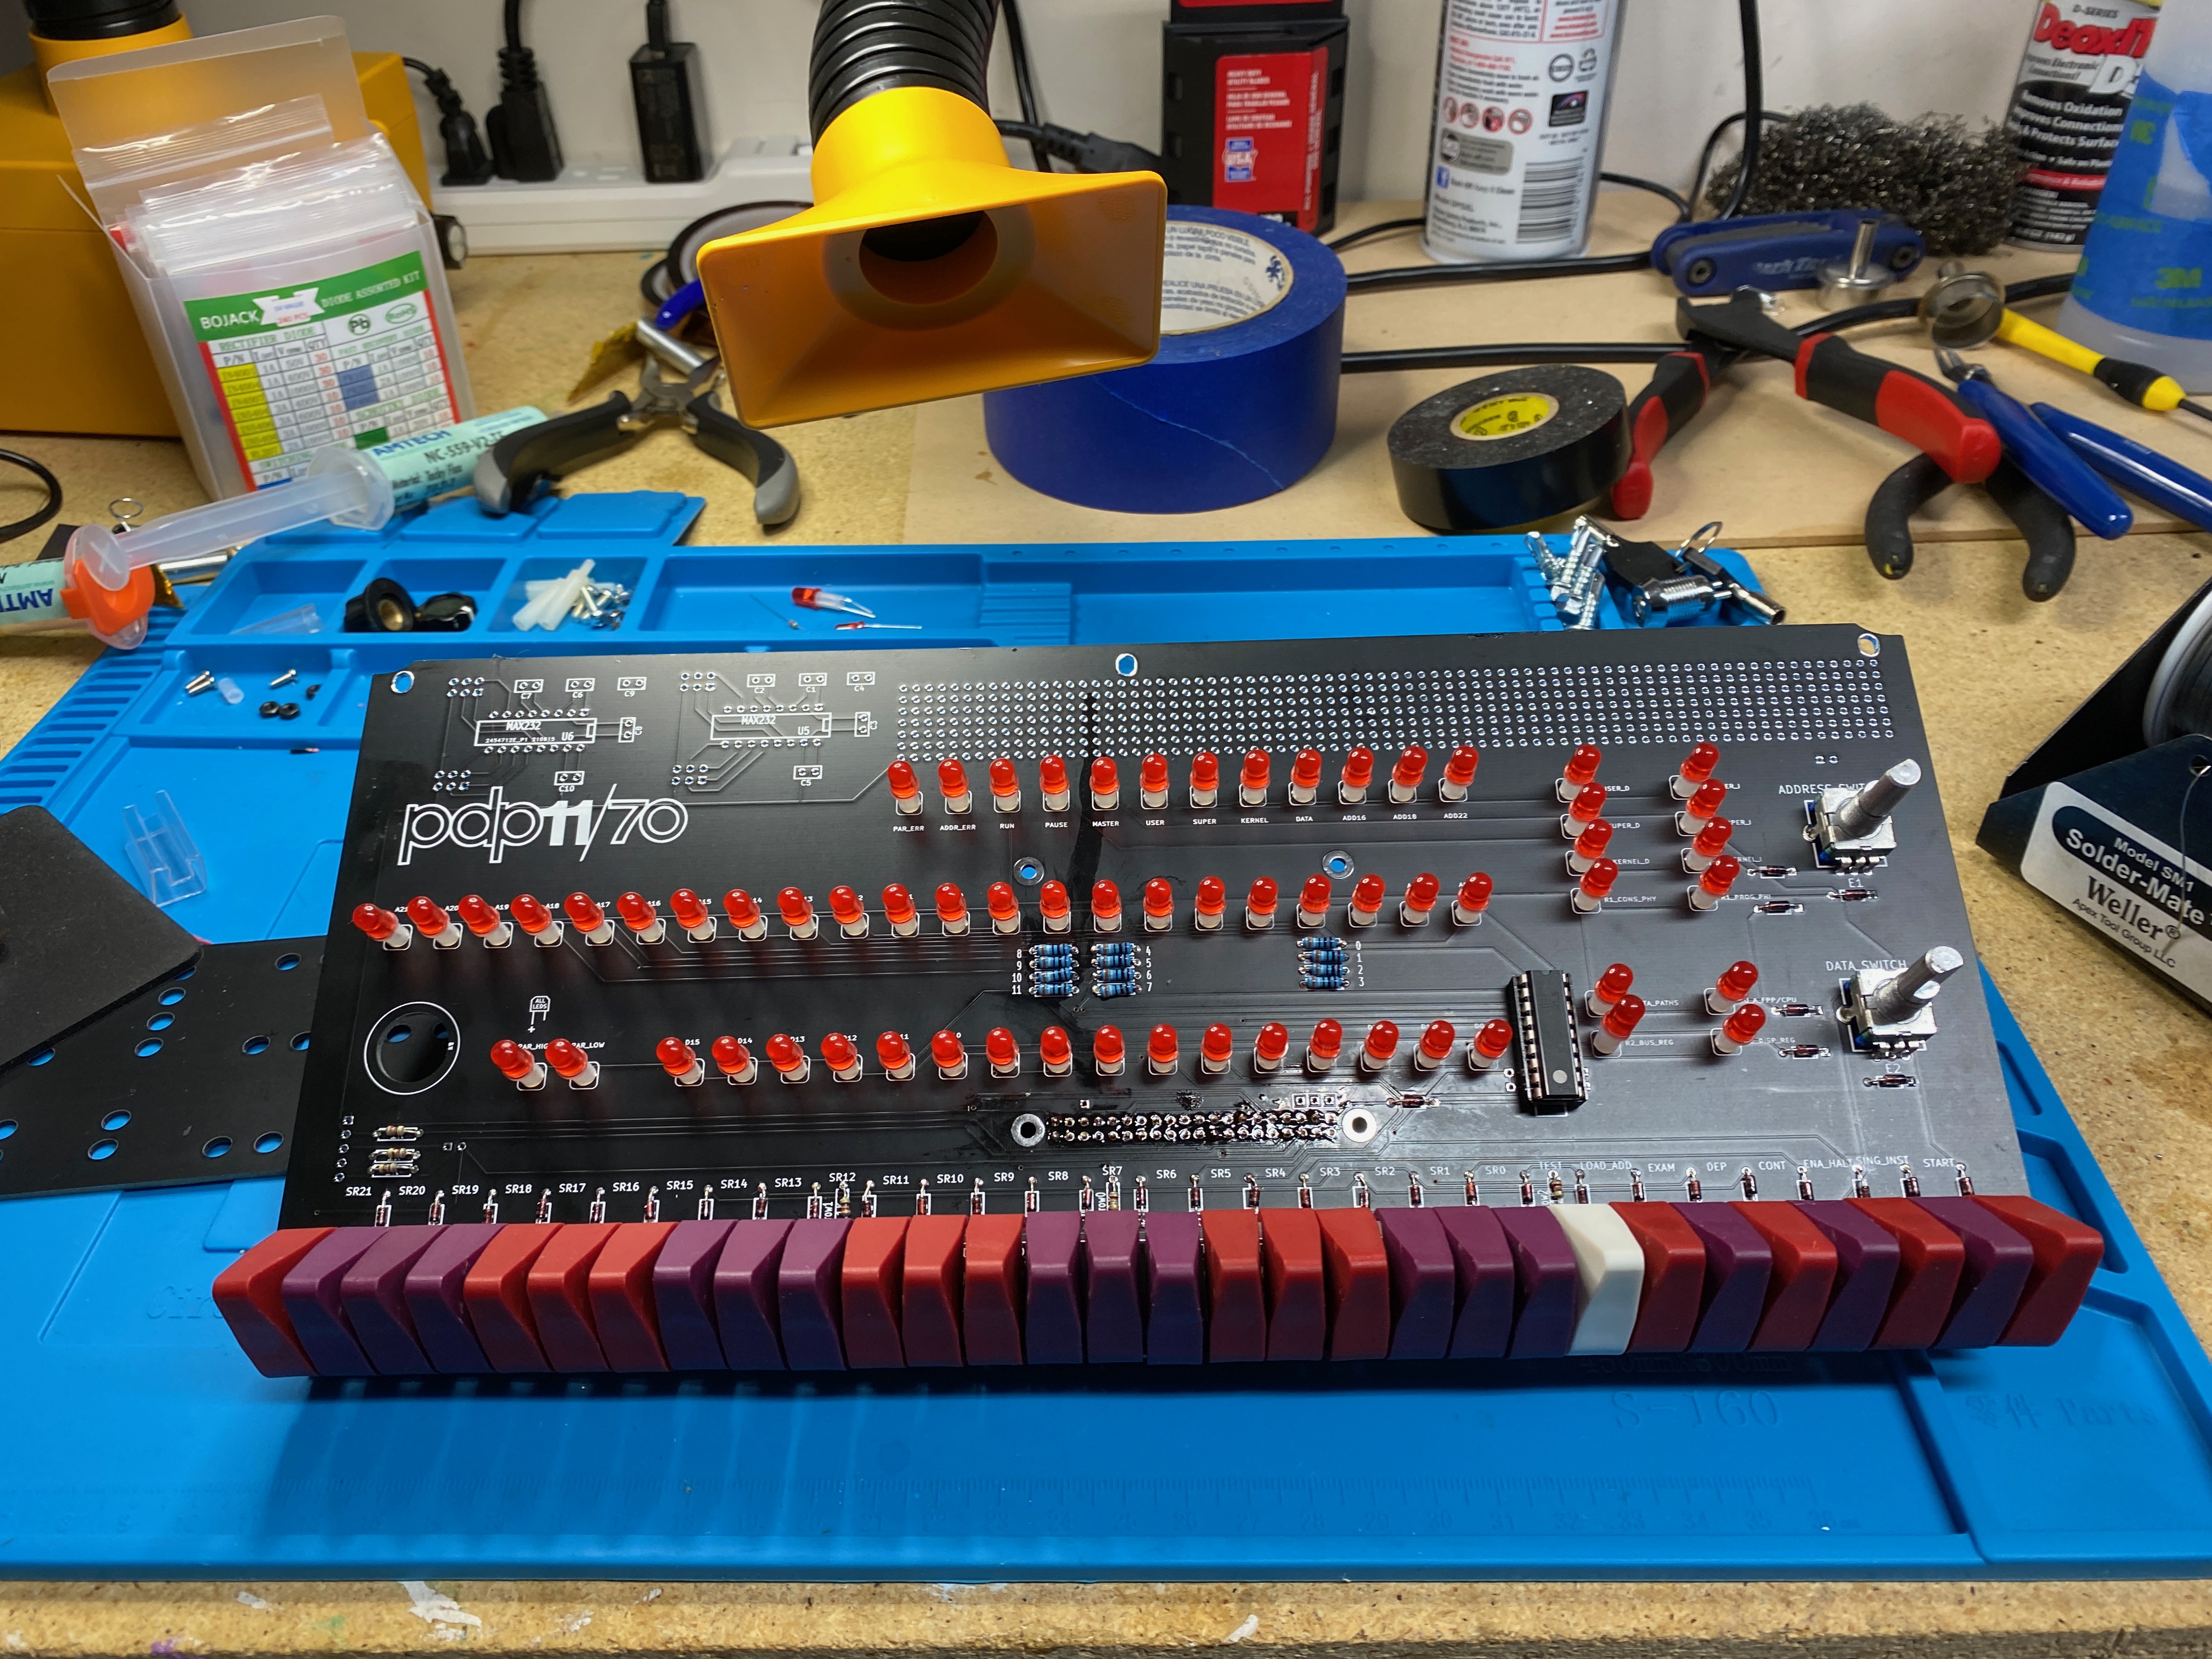
Switches get stichez.
Getting the switches aligned before and during soldering was slightly fiddly, but Oscar’s instructions are very clear.

Lots of attention to detail.
Board assembled into the case. Now let’s see if it works …
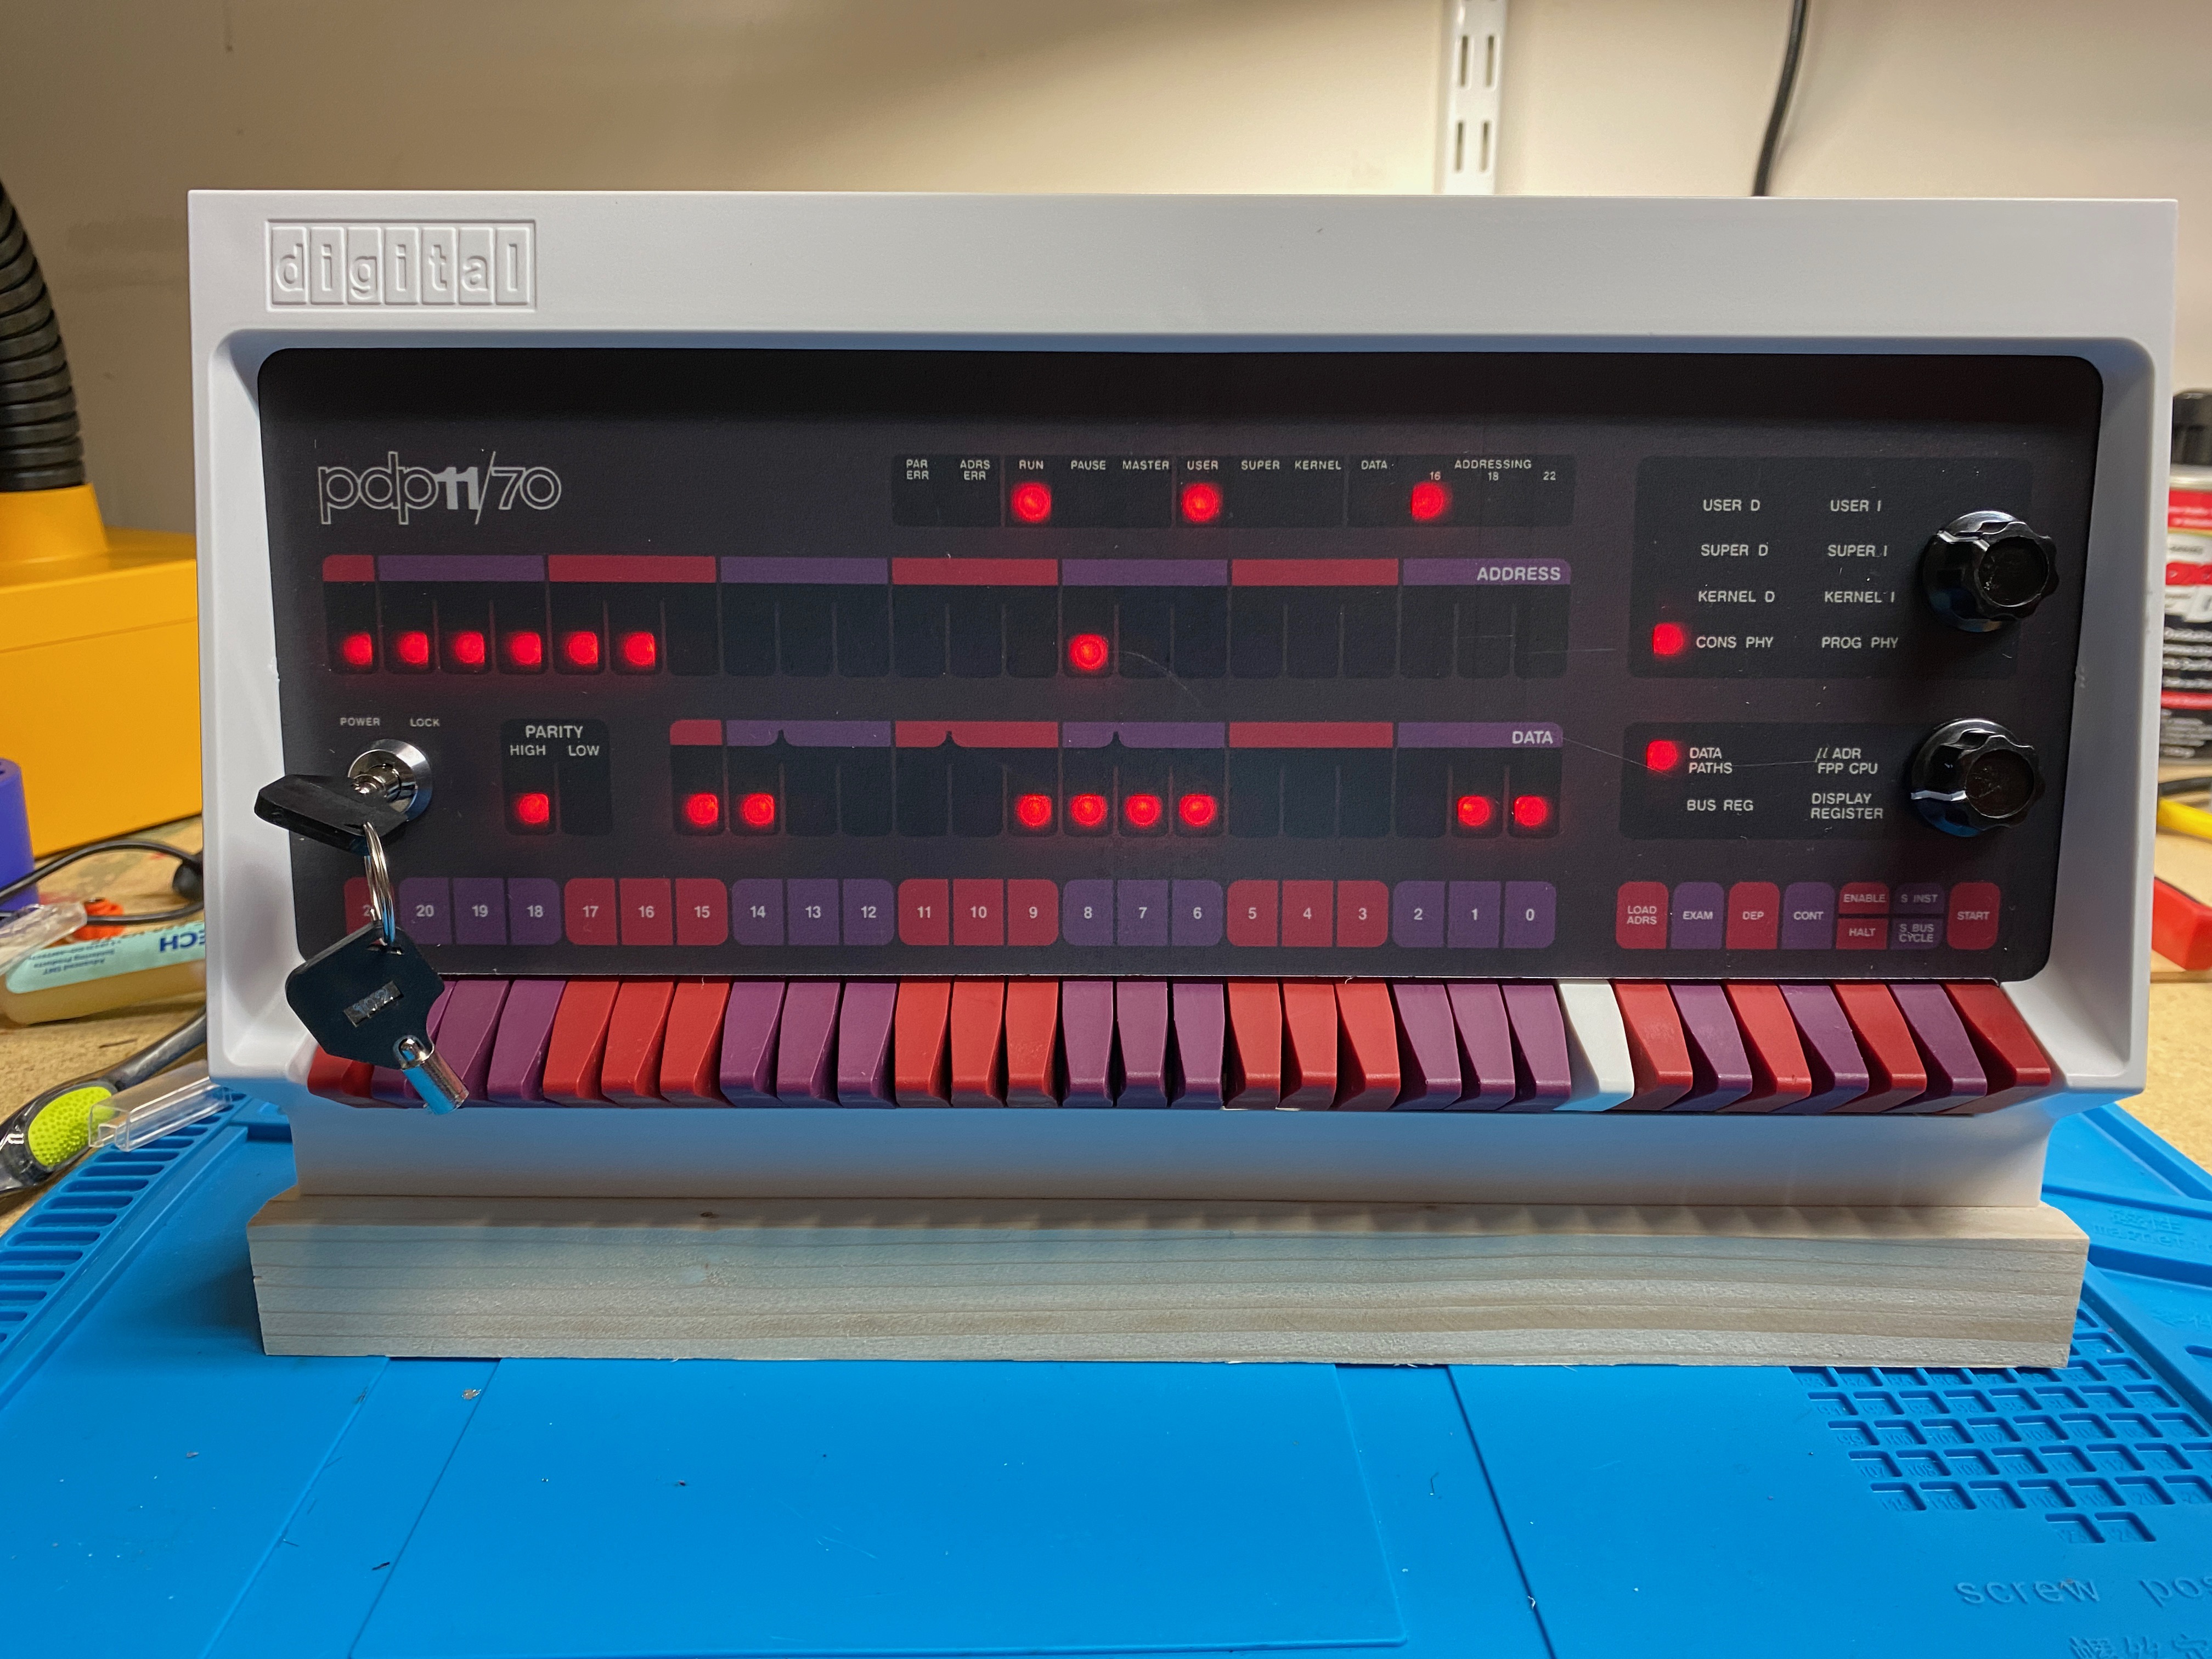
It’s alive!
I stained the wood stand that it came with. While that dries, let’s test all the switches and mess around with the OS. Because it’s a Pi, I can SSH to the console.
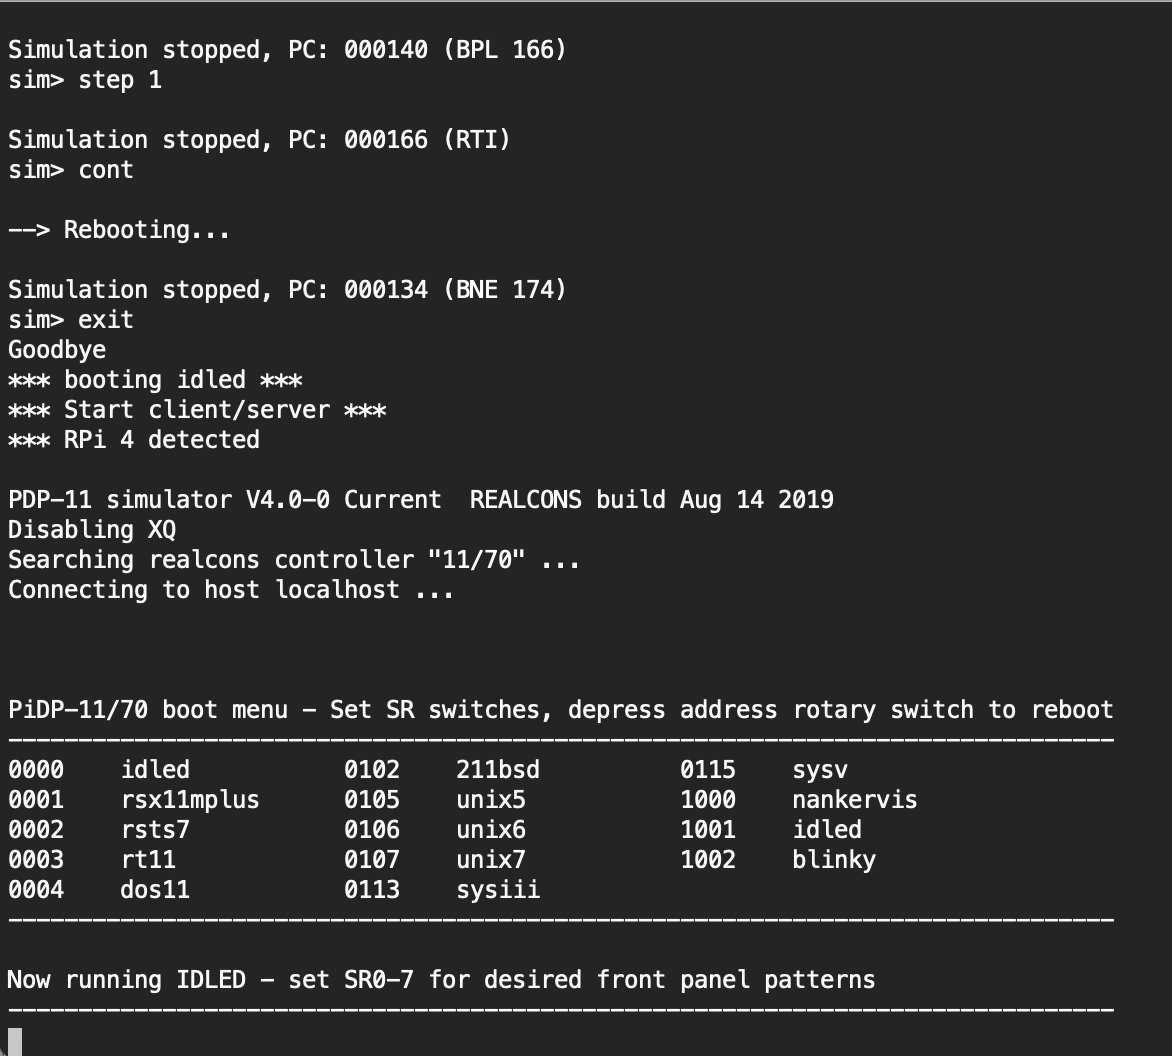
The console.
It runs an emulator of the PDP’s OS, with various disk images to play with. It’s fully-functional. It’s also possible to attach a VT terminal to the PiDP and talk to it that way.
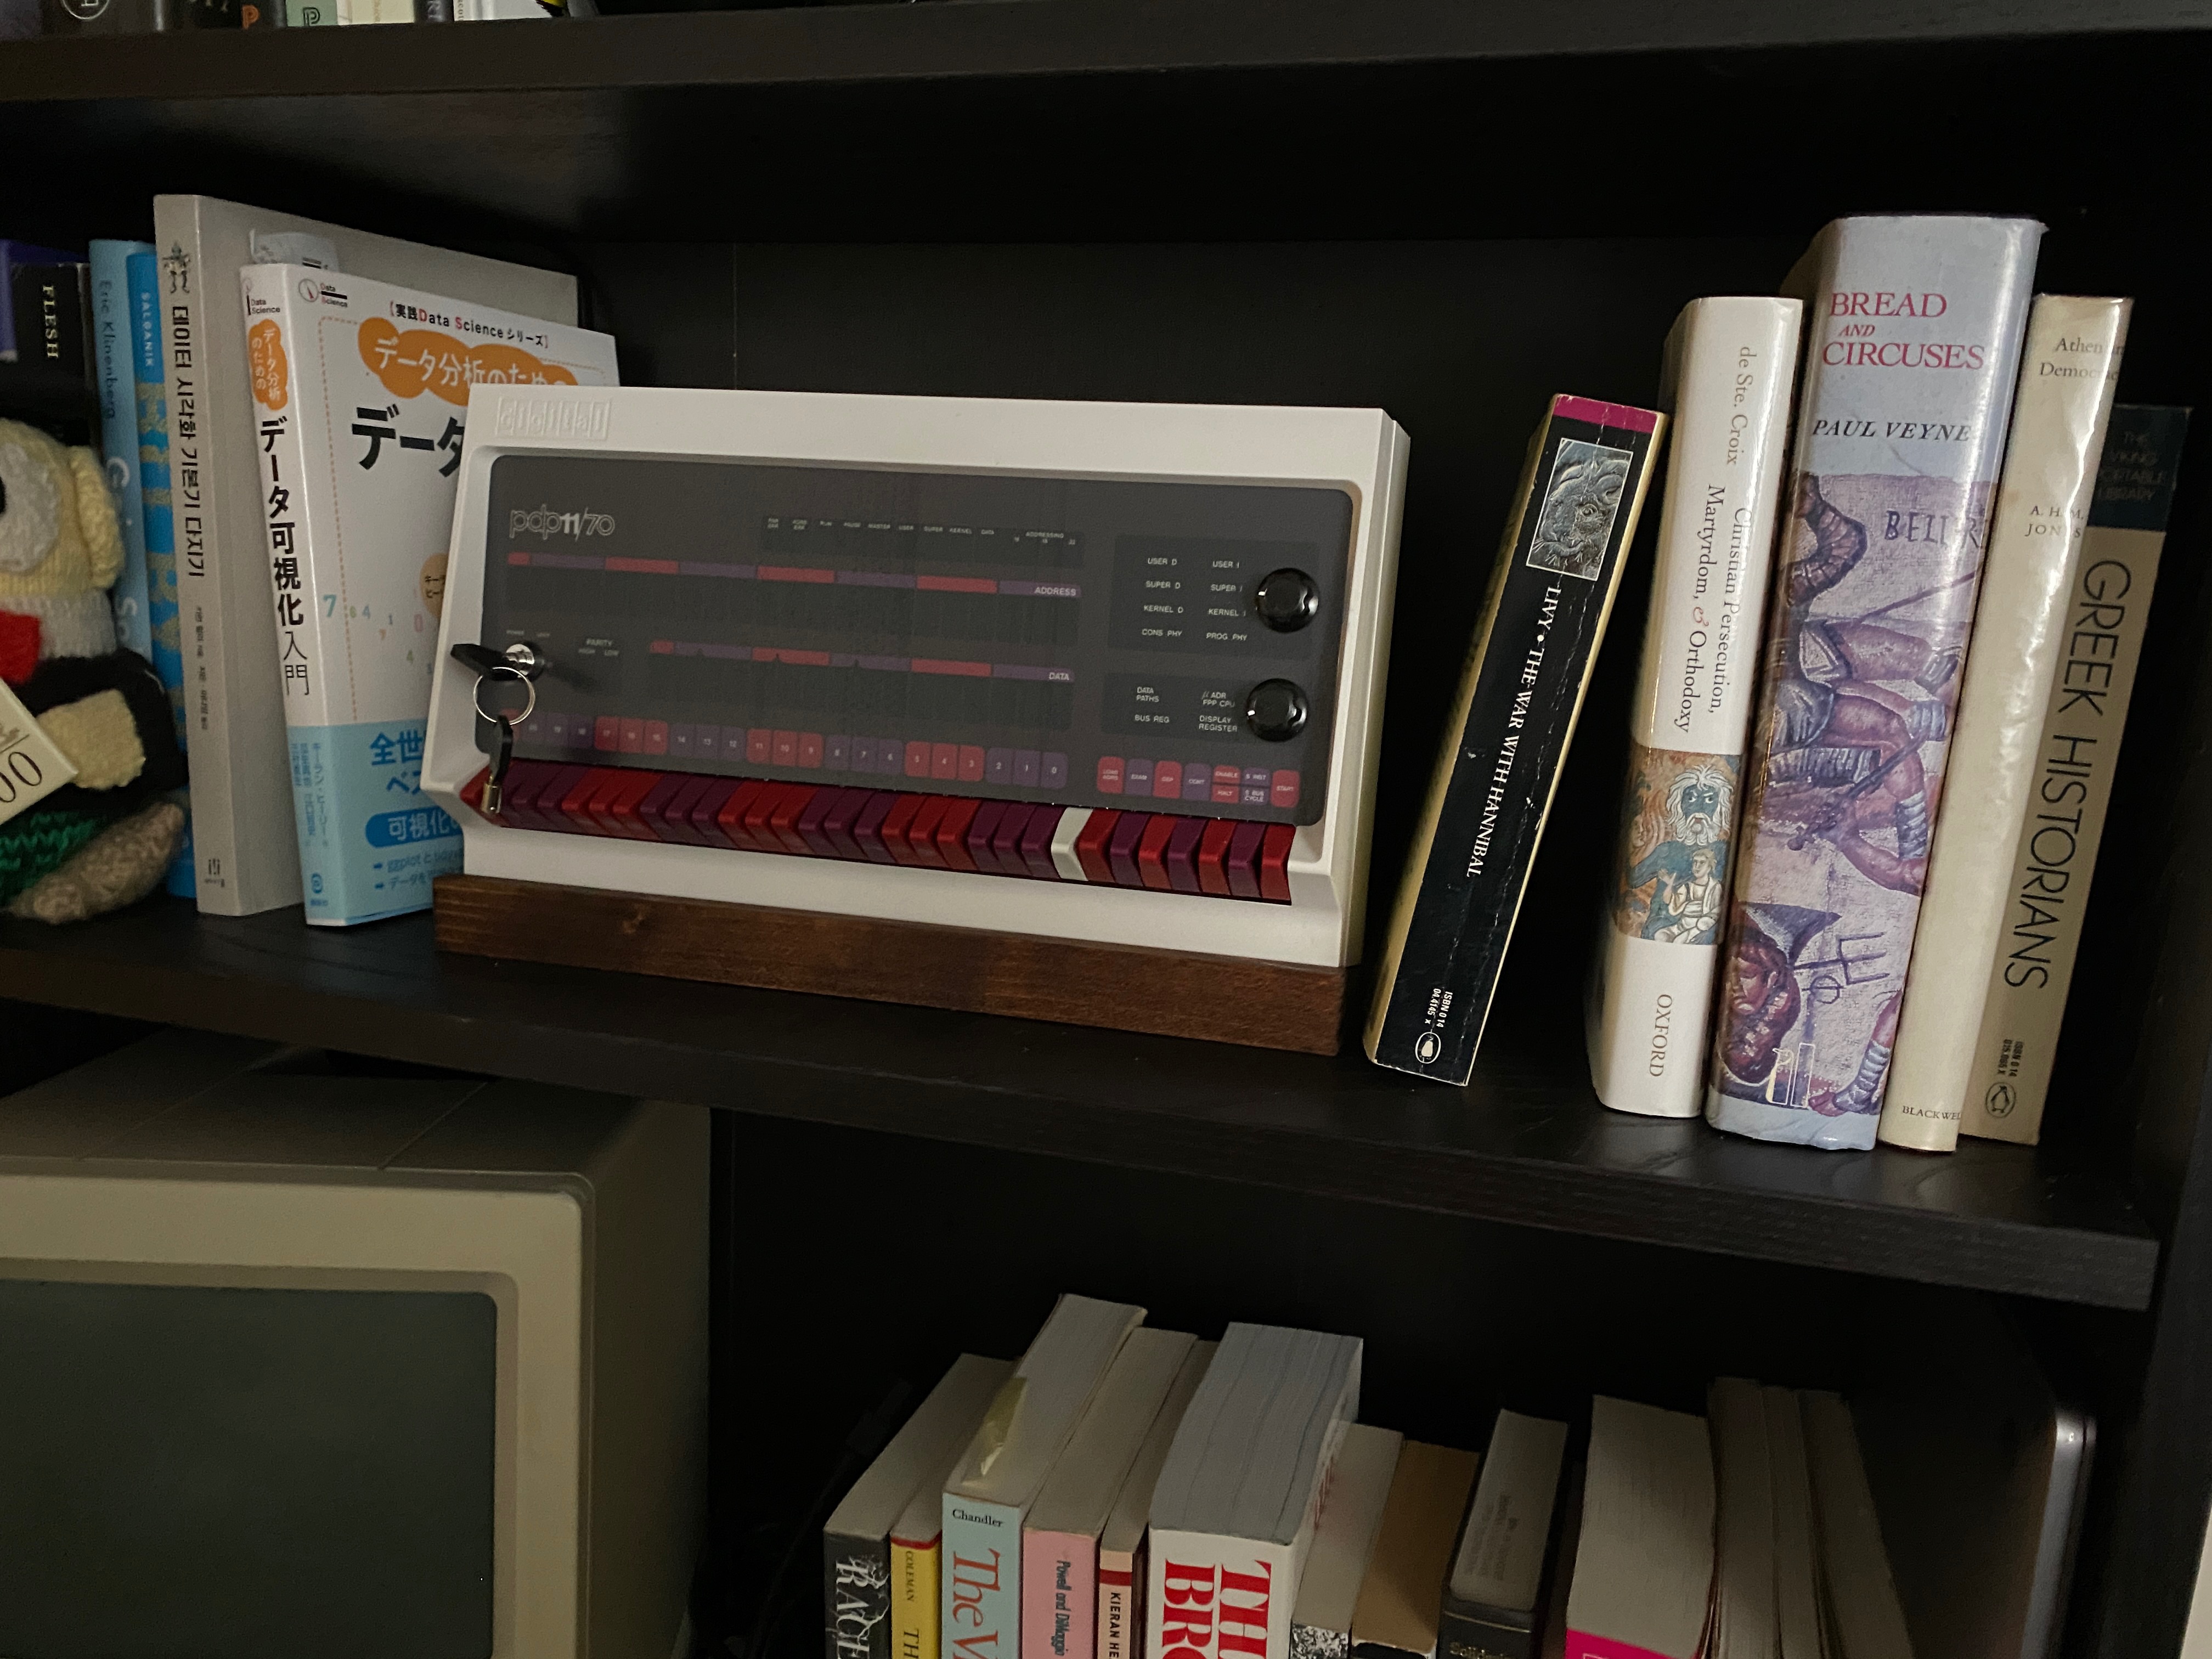
On the shelf.
I moved it up to my office. Appropriately, it sits on the shelf next to some ancient history.
And finally the moment you’ve been waiting for. Time to relaxen and watschen der blinkenlights.
If anyone needs me, I’ll be running the inventory and payroll of a medium-sized business in 1974.